Hiking Trolltunga in Norway: Ultimate Travel Guide
Disclaimer: This post may contain affiliate links, which means I may earn a small commission if you make a purchase at no additional cost to you. I only recommend products and services that I would use myself and all opinions expressed here are my own. You can read my full privacy policy here.
Hiking Trolltunga in Norway
Why is Trolltunga in Norway famous?
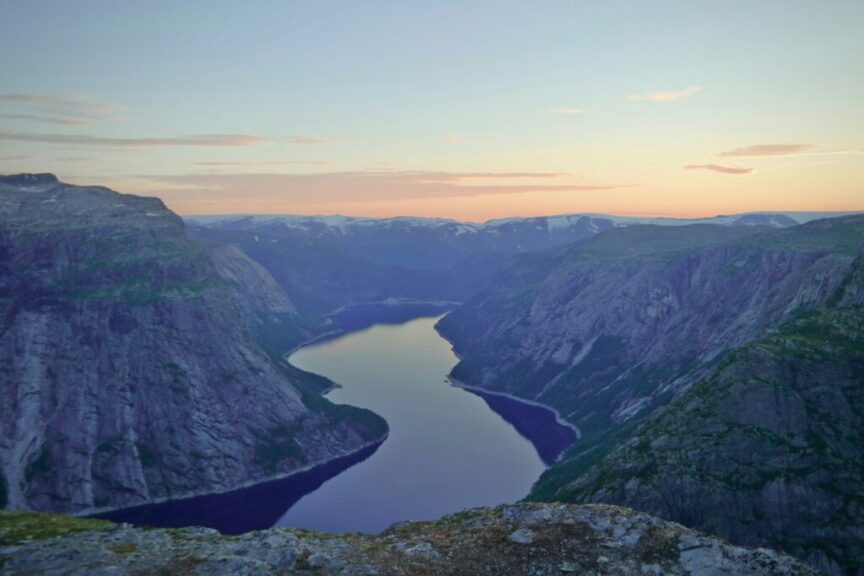
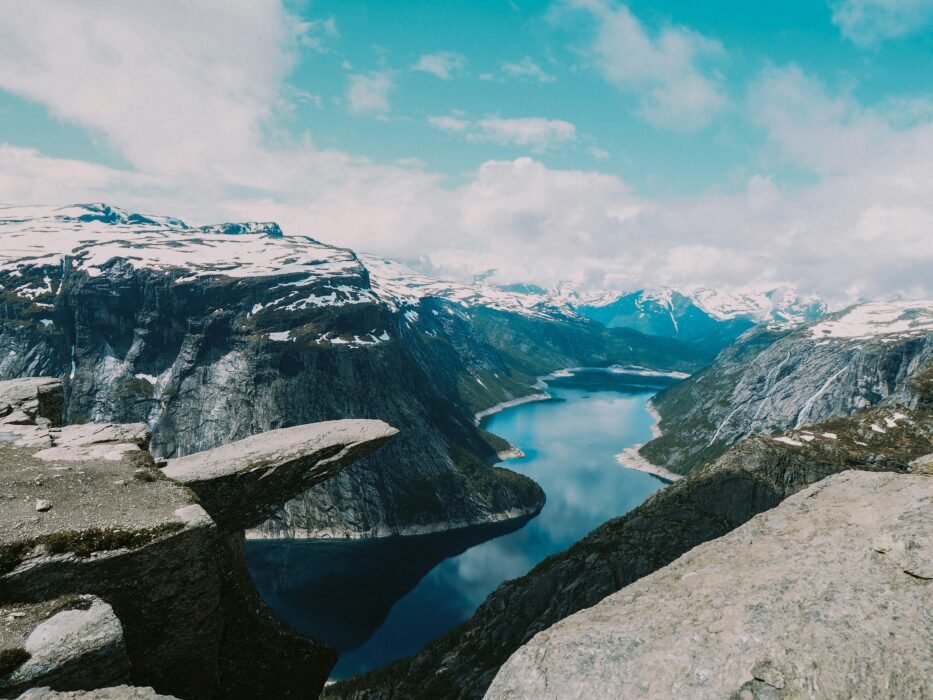
Perched 700 meters above Lake Ringedalsvatnet, this striking rock formation juts out into the air, resembling a troll’s tongue, hence its name “Trolltunga.” What really put Trolltunga in Norway on the map, though, is the Instagram-worthy photo op it offers, where adventurers can capture themselves standing or sitting on the edge of the world. But it’s not just about the photo; the hike itself is a rite of passage. Covering rugged terrain, through stunning Norwegian landscapes, it challenges and rewards with panoramic views. Hiking to Trolltunga was a bucket list adventure and after much planning, I finally did it! Here are is a guide on how to prepare, what to expect as well as some useful travel tips.
Where is Trolltunga?
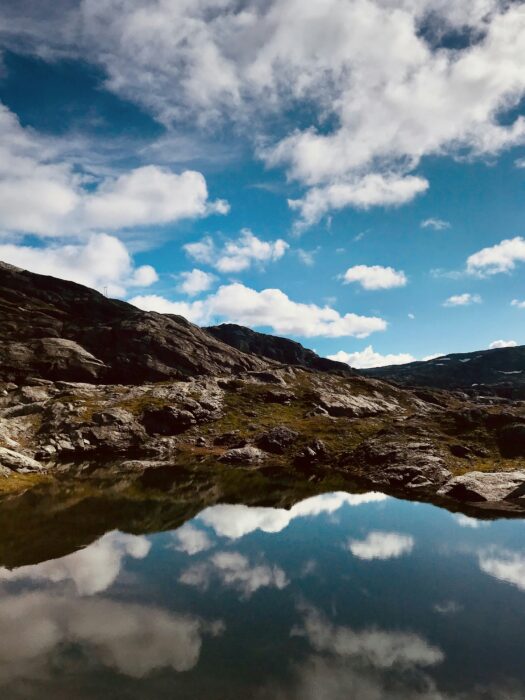
Trolltunga in Norway, is perched 700 meters above Lake Ringedalsvatnet in the Skjeggedal area. Skjeggedal area, which serves as the main trailhead for the trek. The night before our hike, we stayed at Odda given it was a short 20 mins drive away to Carpark #2, making it the perfect spot to rest before and after your adventure.
How to get to Trollunga
The starting point for the Trolltunga hike is the Skjeggedal parking lot, which is situated near Tyssedal, a short drive from Odda, the nearest town. To get to Skjeggedal:
From Odda: Drive approximately 6 kilometers (about 3.7 miles) east towards Tyssedal on Route 13. From Tyssedal, follow the signs leading to Skjeggedal. The drive from Odda to the Skjeggedal parking area takes around 15-20 minutes.
Trolltunga Map
To get to Trolltunga in Norway, put in Skjeggedal Trolltunga Carpark P2 into googlemaps for directions to the carpark and starting point. We recommend startign your journey in Odda, staying there the night before the hike.
Parking at Trolltunga
There are technically three parking areas for Trolltunga, P1 Tyessedal, P2 Skjeggedal and P3 Magelitopp. P2 Skjeggedal is by far the most convenient.
Parking at Skjeggedal
The parking lot here is the most direct starting point for your hike. Be aware that parking spaces are limited and fill up quickly during the peak season, so arriving early is advisable. There is a parking fee, which contributes to the maintenance of the hiking trail and the area.
Trolltunga Alternative Parking
Due to the limited parking at Skjeggedal, there’s additional parking available in Tyssedal, from where you can take a shuttle bus to the starting point at Skjeggedal during the high season. This is a good backup option if Skjeggedal’s lot is full
Parking tip
The main parking area for the Trolltunga hike is in Skjeggedal, and during the high season, which runs from June to September, it can fill up quite early. Typically, the parking lot can become full as early as 6:00 AM to 8:00 AM, especially on weekends or during peak tourist periods. To secure a spot and avoid any delays to your hike, it’s advisable to arrive as early as possible, ideally before 6:00 AM. This early start not only ensures parking but also gives you a head start on the day’s trek, allowing you to fully enjoy the hike and the stunning views at Trolltunga with fewer crowds.
Trolltunga trailhead – start of the hike
Starting the Hike: The trail to Trolltunga starts at the upper end of the Skjeggedal parking lot, marked by signage. The first section involves a steep climb up from Skjeggedal to the Mågelitopp area, which can be bypassed by a shuttle service (available during high season) if you wish to conserve energy for the rest of the hike to Trolltunga. The first part of the hike is arguably the most strenuous, as it involves a series of switchbacks up the hillside.
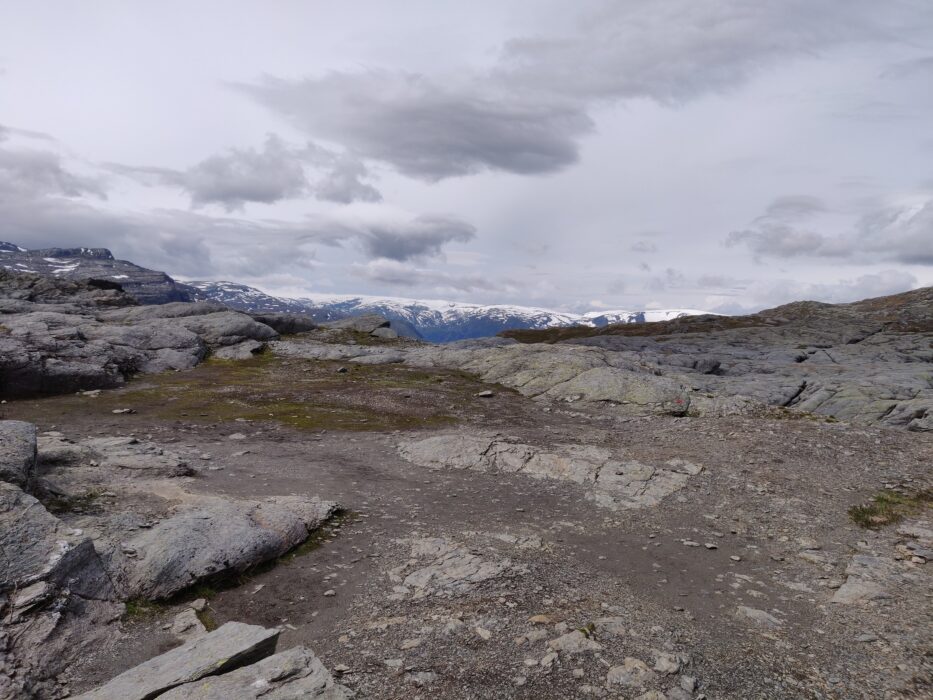
Hiking to Trolltunga in Norway
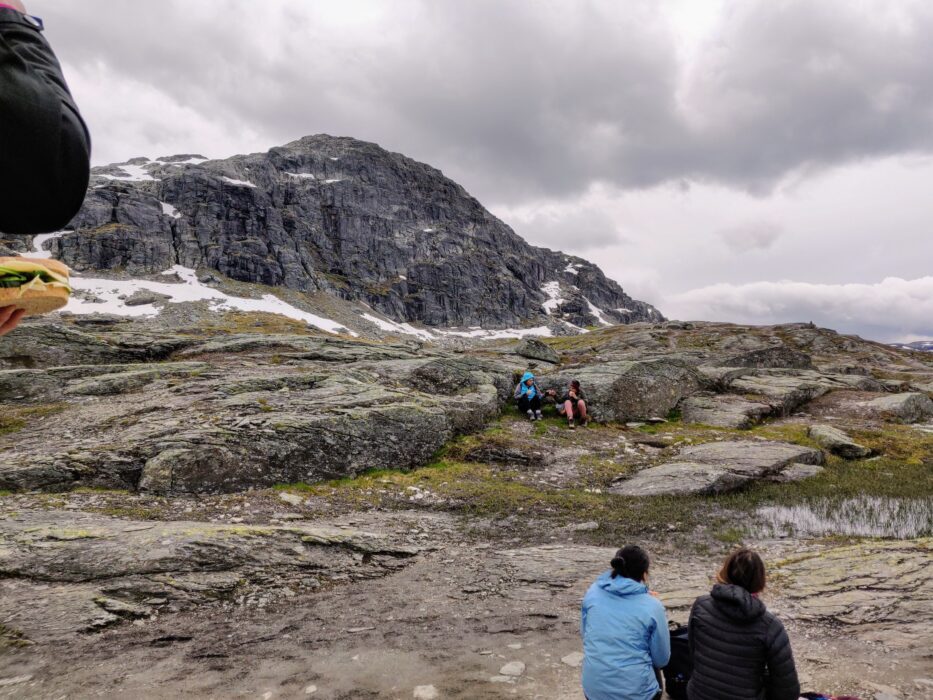
Hiking to Trolltunga, the trail first starts with an ascend for the first quarter of the route. It later varies, mixing rocky paths with wooden boardwalks, challenging and guiding you through Norway’s stunning landscape. By May to July, expect the trail to be busier, adding a lively vibe to your trek.
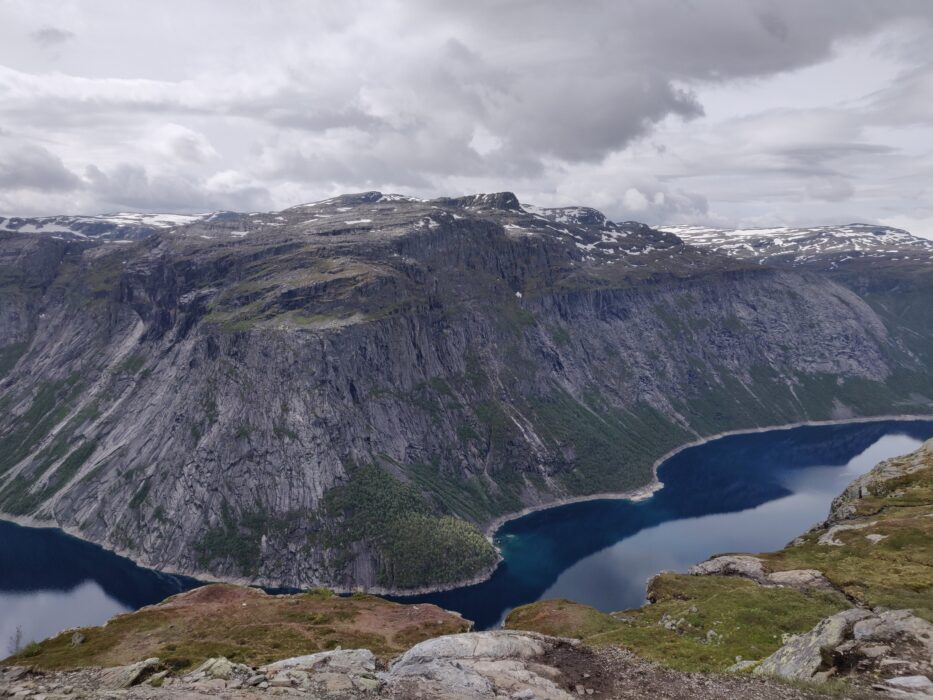
Midway, the Tyssestrengene waterfall offers a scenic rest stop, perfect for refueling and capturing some incredible photos. The terrain shifts as you progress, with flatter sections offering a brief respite before the final push to the summit. I have to say I found the journey back down is when I was able to appreciate the beauty of the trail itself a bit more and take in the spectacular landscapes all around!
Photos of Trolltunga in Norway
The highlights!
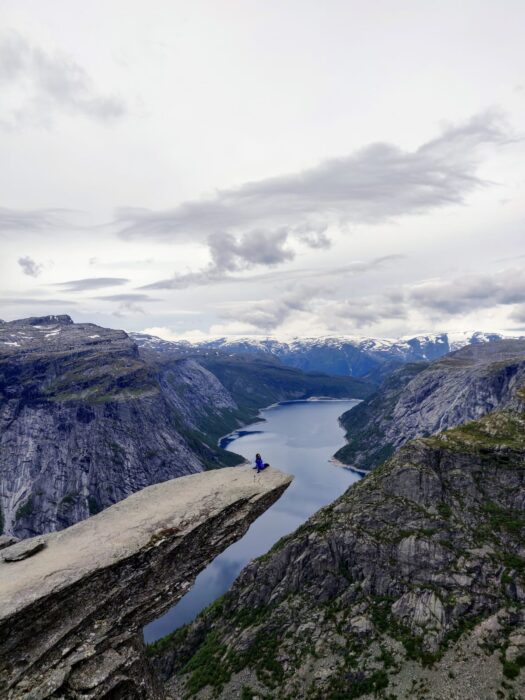
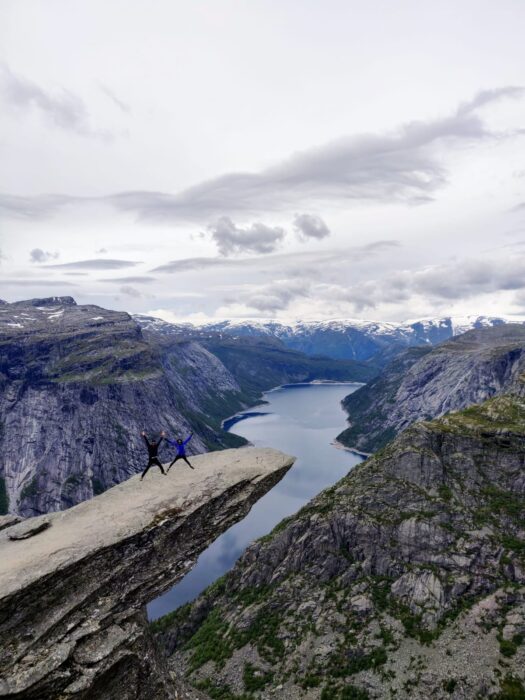
Its worth spending some time up here to refuel and savour the view which is much deserved after the hike to Trolltunga. We stayed here for about an hour, before heading back.
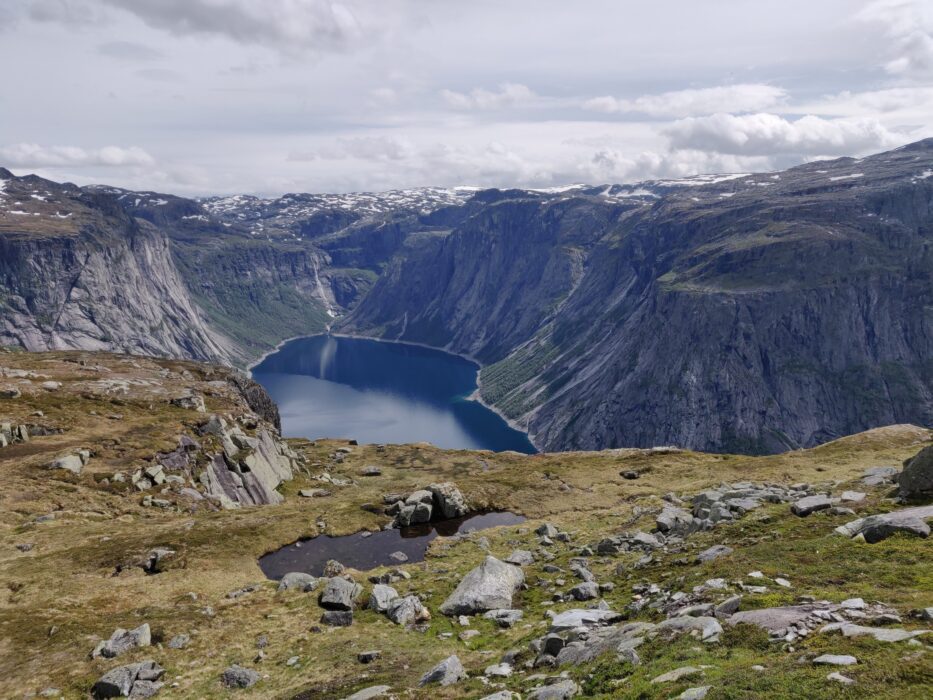
Practical tips when you reach Trolltunga summit
Navigating the hike to Trolltunga is relatively easy, follow the marked path from the main trail; it’s hard to miss with the crowd heading the same way.
- Picture wait time: Expect a wait of around 15-20 minutes to an hour for that legendary photo, more if it’s peak season during May – July.
- Crowd size: The summit can get crowded, especially midday. Early morning or later afternoon visits might dodge the biggest crowds.
- Time at the summit: Give yourself at least 30 minutes to an hour here, not just for photos but to take it all in.
- Safety first: Keep a safe distance from the edge, especially when snapping pics or soaking up the views.
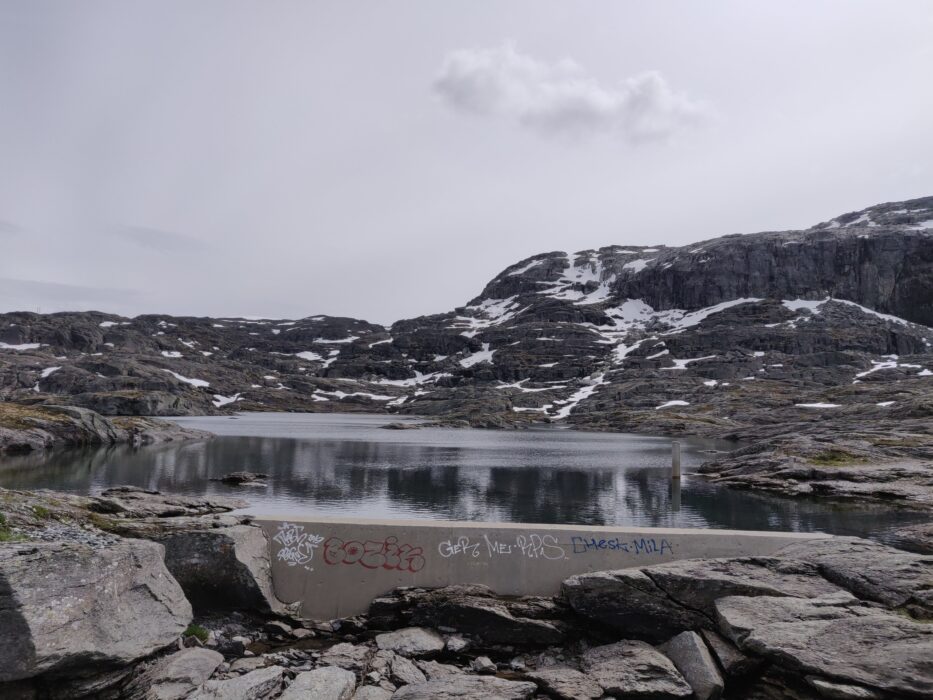
What to bring to Hike Trolltunga in Norway
Here is a straight-to-the-point checklist of essentials I found were absoute musts. Trust me, having the right stuff can make or break your hike.
- Good Hiking Boots: We’re talking sturdy, waterproof, and made for walking. Your feet will thank you later.
- Layers, Layers, Layers: The weather can flip on a dime here. Pack a waterproof jacket, a warm sweater, and breathable shirts.
- Snacks and Water: Keep your energy up on the hike to Trolltunga with your hydration in check. We packed energy bars, sandwiches, and at least 2 liters of water each.
- Navigation Tools: A map and compass, or a fully charged phone with a GPS app. Don’t rely on just one.
- Basic First Aid Kit: For those just-in-case moments. Include plasters, antiseptic wipes, and some pain relief meds.
- Extra Battery Power: Your phone’s camera is going to get a workout. Keep it charged for those breathtaking views.
- Headlamp or Flashlight: Essential, especially if you’re setting off early or wrapping up late.
- Sun Protection: Sunglasses, sunscreen, and a hat. Yes, even in Norway, the sun can be a scorcher.
- Trash Bag: Keep it green and pack out what you pack in. Let’s leave no trace.
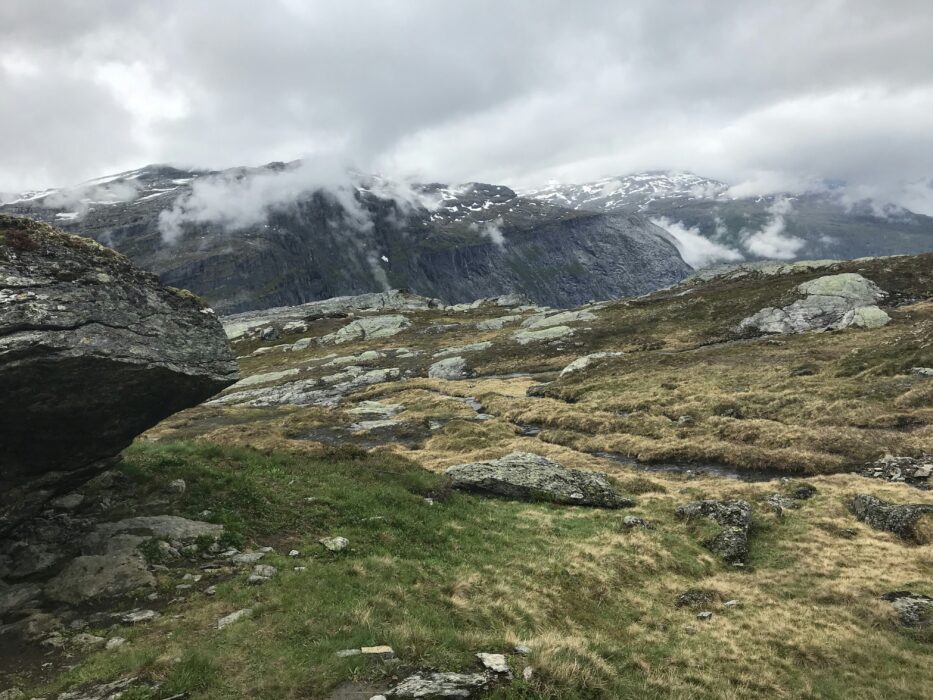
Where to Stay to Hike to Trolltunga in Norway
When researching where to stay to hike to Trolltunga, I found the following three places as the most practical. We ended up staying Odda given its proximity and convenience to reaching the start of the Trolltunga trailhead:
- Odda: This is the go-to hub for hikers heading to Trolltunga, offering a mix of accommodations to fit any budget. From cozy hostels to comfortable hotels, you can expect to spend anywhere from $50 to $150 per night. Driving to Skjeggedal from Odda takes about 20 to 30 minutes, making it super convenient for an early start.
- Tyssedal: Just a notch closer to the trailhead, Tyssedal offers a quieter stay with a handful of lodging options, including guesthouses and hotels, with prices similar to Odda. The drive to Skjeggedal parking is roughly 15 to 20 minutes, offering a bit more sleep before hitting the trail.
- Røldal: For those looking to combine the hike to Trolltunga with other outdoor activities, Røldal is a great choice, albeit a bit farther away. Accommodations here range from rustic cabins to comfortable hotels, with nightly rates from $60 to $200. Expect a drive of about 75 minutes to Skjeggedal, so plan for an early departure.
Trolltunga Hike Experience
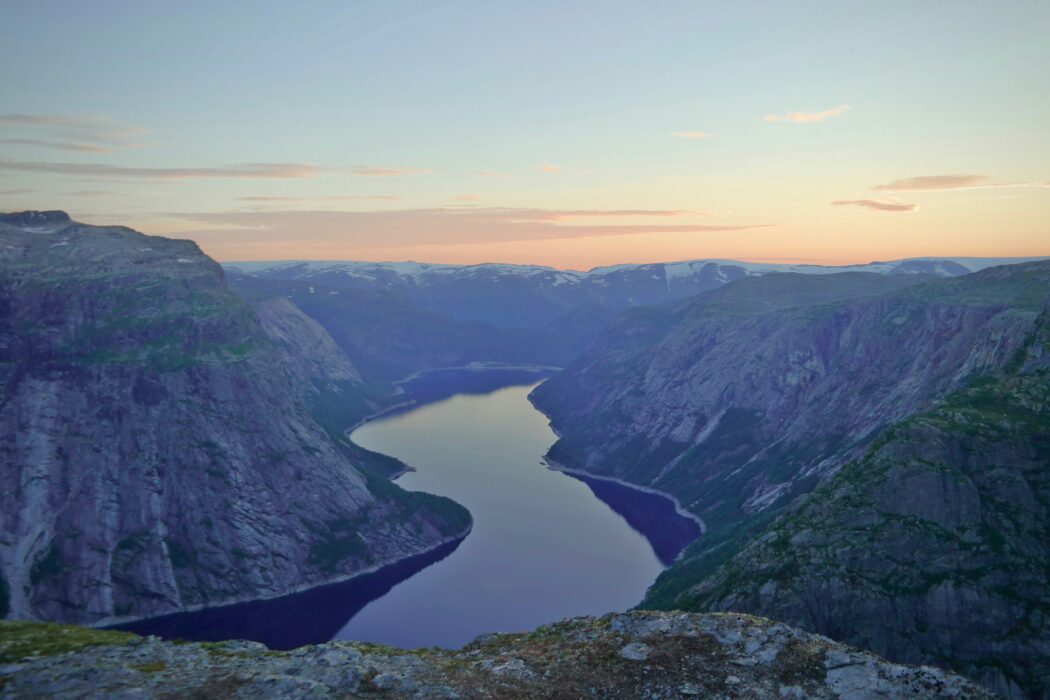
I found hiking to Trolltunga be a challenging but extremely rewarding hike! I found I definitely needed a lazy rest day the day after. For more practical information on the trail and conditions, check out information on the official Trolltunga trail website (https://trolltunga.com/).
Heading to Norway? Check out our other posts!
10 Day Winter Norway Itinerary: Northern Lights and Beyond
Pust Sauna Tromso – A Must Try Scandinavian Spa

